
This is the dry erase table I painted for the Parade of Homes and my husband epoxied. It was another request from Danielle with Cahoon Interiors. The table started out like this. It had great bones but it needed some work. 
I started by tightening everything up. It was very loose and the legs were slipping away from the frame. Next step was white paint to make it crisp and clean. I made a stencil for the design on my computer.  I have found that stencils are never perfect so you have to put some skill into it.
I ended up spending a lot of time with a sharpie and a steady hand. 
Then more detailing with the sharpie! It was a long process. When the white needed touch ups, it was a tiny brush and a steady hand. 
I think it worked out well. When it was a good as I could get it, and dry, my husband helped me epoxy it. Sherwin Williams makes an epoxy that coats over surfaces to make a dry-erase board. 
Geoff works with epoxies at work everyday so it was great to have a Pro in the house to help! (Thanks Geoff!)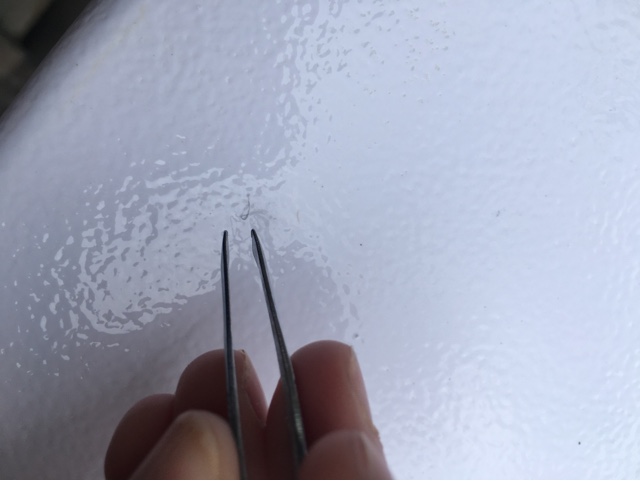
I spent the next few hours checking and re-checking to remove lint fuzzies that fell from the air. Using tweezers helps avoid fingerprints. I think every tree in the neighborhood tried to send cotton in the air that night. It was a bit stressful! 
I love the way it turned out and that kids and adults can sit and color for years to come! A big thanks to Danielle for coming up with this challenge for me.
Love, Lori
No comments:
Post a Comment